DollarTree Ice Cream Truck & Pinatas
- Jun 16, 2019
- 2 min read
I really wanted to do the DollarTree Challenge and create a whole party with dollar tree supplies.
I believe I did that with the use of Xyron Glaminator, Xyron Creative Station Lite and my cutting machine. I already had these items so I don't see that as "cheating" I'm just using my resources.


Let's get started. How did I create the Ice Cream Truck?
I usually start with a sketch/illustration or mockup. Then I convert my drawing into a sculpture. My first step was to stop by my local DollarTree and pickup all the items I would need.
List:
Cardboard Poster
Pink, Black, Gray, White Cardstock paper
Glitter Cardstock paper
3 different wrapping paper (rainbow, pink, and strips)
Gold Washi Tape
Strings
White paint (optional)
Tape/Hot glue
Piñata (Cardboard, tape, pink and mustard tissue paper)
Total of around $15
1) I hand sketch the Ice Cream Truck into one of the DollarTree cardboard poster.
2) After I cutout the truck and add side panels. I cover the cardboard with gift wrapping paper. That's everything- everything else is in the details.
3) Two black circles for tires, a gray window, pink ice cream melt swirls,
4) Align the washi-tape on the sides of the truck

I used my Xyron machine to laminate the menu, and laminate the pink ice cream melting cardstock since we will be serving food the lamentation creates a layer of protection. I also used the Creative Station Lite to attached the letters, and some details because it gives it a clean look.
I used my cutter machine to make all the letters.
Other Dollar Tree DIY:
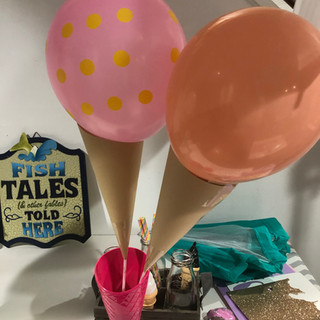
-Mini Pinatas
-Ice Cream Baloons
-Chalk Art
Our local DollarTree had lots of other ice cream products like ice cream shape bubbles containers, hand towels, cups, etc.


Comments