Graduation Season is Blooming: DIY Cap & Sign
- Apr 16
- 2 min read
Updated: Apr 24
Graduation Season is Blooming: DIY Cap & Sign Inspiration
Graduation isn’t just a ceremony—it’s a celebration of identity, resilience, and growth. As someone who works closely with students each year, I’ve seen how powerful it is when they show up fully as themselves.
That’s why I always encourage cap decorating.
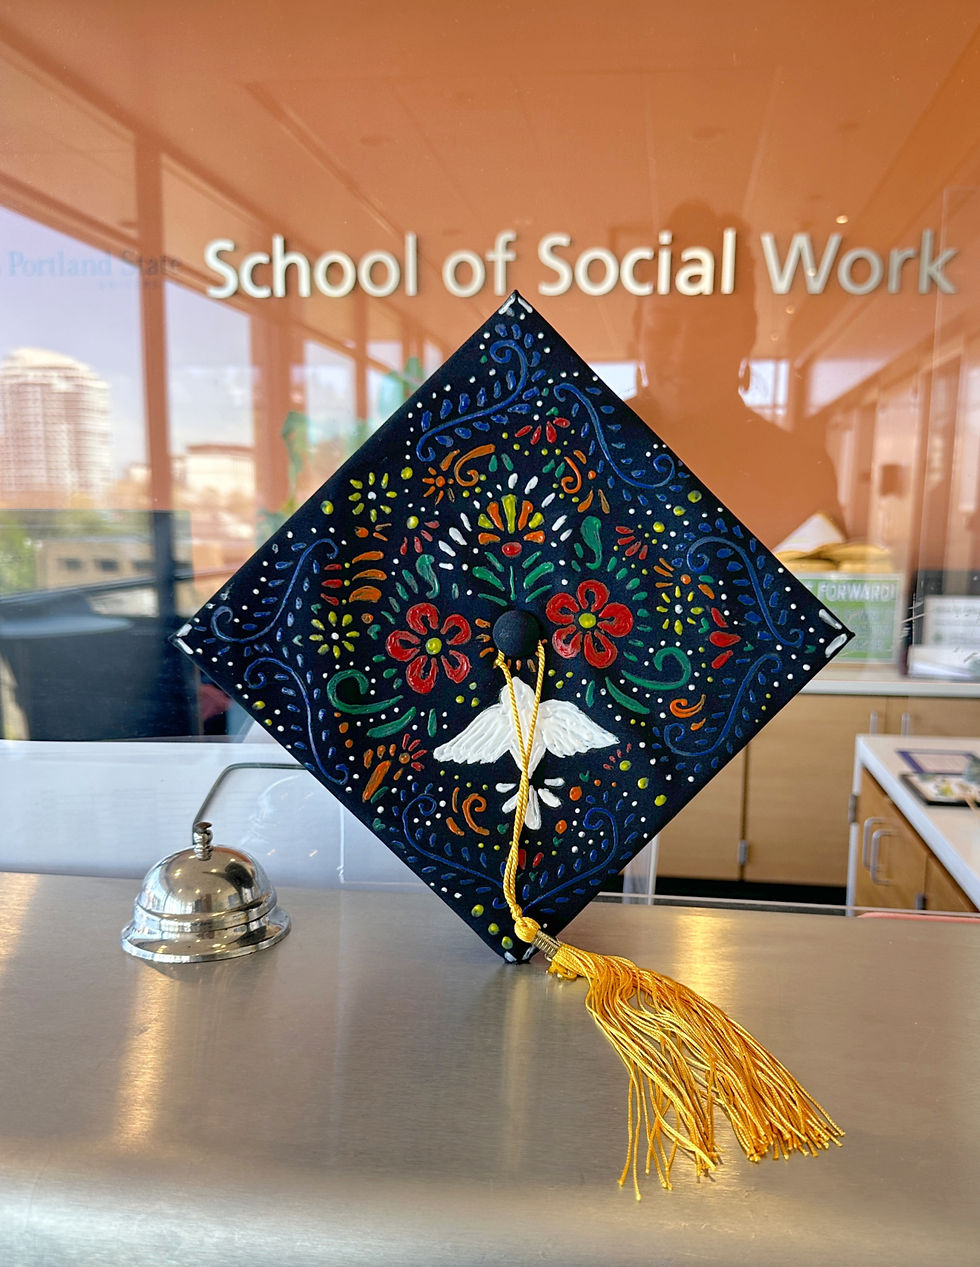
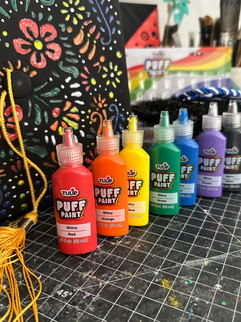
Using Tulip Puff Paint, I experimented with layering colors to create texture and dimension. The result? A vibrant, bubble-like effect. Whether your design is bold, minimal, cultural, or symbolic—there’s no wrong way to do it.
STEPS ON HOW TO:
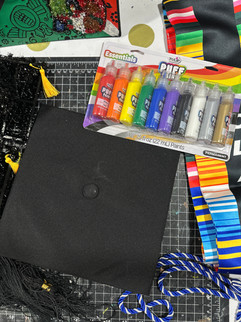
Start with a stencil: use a stencil to trace the main part of your design onto your surface.
Add freehand details: go in and sketch the rest of the design by hand to personalize and complete the look.
Use a white colored pencil: sketch everything with a white colored pencil (the one with the black cap works great). This helps your lines show clearly, especially on darker surfaces.
Create guiding lines: your sketch acts as a guide for where the paint will go—think of it as your roadmap.
Remove the stencil: once all tracing and sketching is complete, take away the stencil.
Begin painting: start filling in your design, similar to paint-by-numbers.
Paint by color sections: work one color at a time—finish all the blue areas first, then move on to red, and so on.


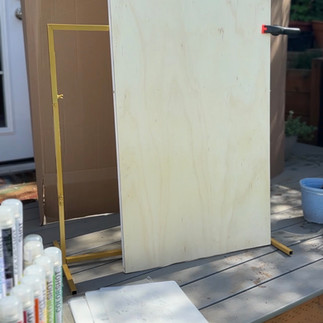
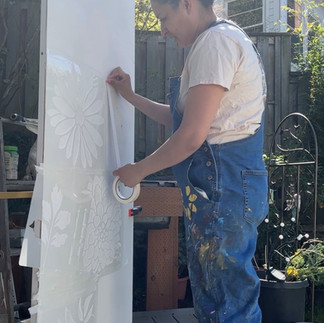
And don’t stop at caps—bring that same energy to your celebration spaces. I used ColorShot Spray to create a signage with stencils, adding a festive touch for Graduation festivities.
Similar technique. Stencil + ColorShot Spray (Layered Background + Cutouts)
[YOUTUBE tutorial VIDEO] [Instagram video] [Youtube short video]

STEPS ON HOW TO:
Start with a white primer—especially important if you’re working on wood. Let it fully dry.
Create your background by using br
ush strokes to paint your base color (like green). Don’t worry about perfection—texture adds character. Let dry.
Place your stencil and position your stencil where youcol want your design. Secure it if needed to prevent shifting (I used painter's tape).
Apply spray paint. Build color gradually to avoid bleeding.
Remove stencil carefully and lift the stencil while the paint is still slightly wet for clean edges.
Add layered elements (once dried) like flower shapes to build dimension.
Add bold colors onto the flowers so they “pop” against the background.
Assemble and finish. Adjust placement for balance and visual impact.
Find these products at Walmart or online at TulipColor.com


✨ Tips:
Use stencils for clean, repeatable patterns (beginner level to advance.** This means anyone can do it!)
Layer colors for texture and depth
Stay tuned as we finish the setup, create a full graduation backdrop, and plan a celebration for 200 graduates! Follow the journey on social media.


Comments